

Imagine a garden that waters itself, saves water, and runs on sunshine. Sounds dreamy, right? With a DIY solar-powered drip irrigation system, it’s totally possible—and easier than you think. This set-it-and-forget-it watering system uses solar energy to power a drip network that delivers water exactly where your plants need it, no hose or bucket required. Whether you’re a gardening newbie or a seasoned plant lover, this clever hack will save you time, energy, and money. Let’s dive into how to build your own DIY solar-powered drip irrigation setup and enjoy lush, thriving plants with minimal effort.
What Is a DIY Solar-Powered Drip Irrigation System?
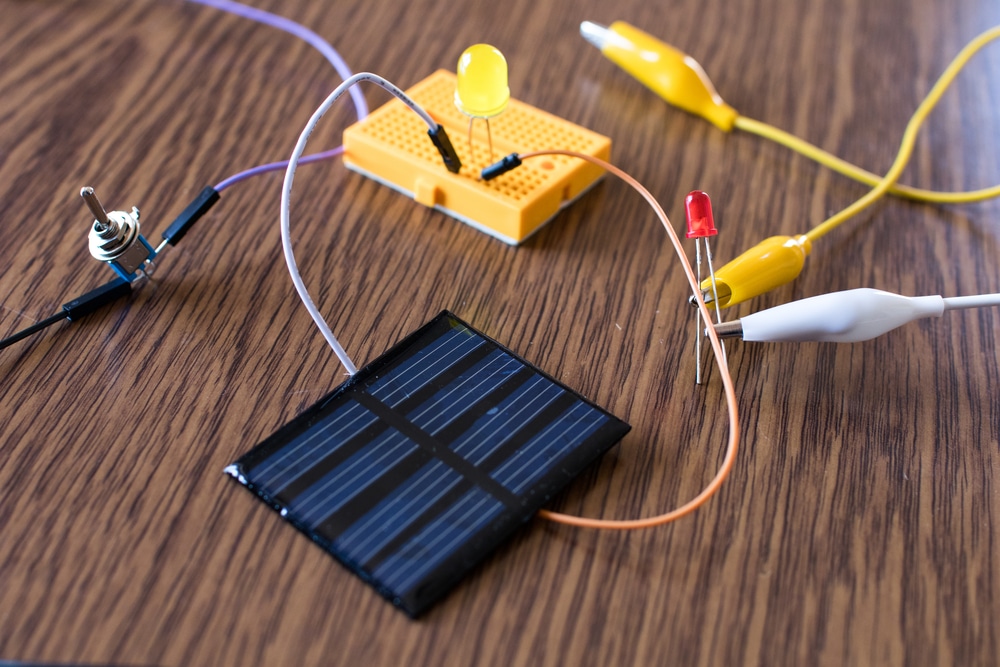
Let’s break it down. A DIY solar-powered drip irrigation system is a smart, eco-friendly watering solution that combines two powerful tools: drip irrigation and solar energy. Drip irrigation delivers water slowly and directly to plant roots through a series of tubes and emitters. This method reduces water waste and ensures your plants get exactly the moisture they need.
Now add solar power into the mix. Instead of plugging your irrigation system into an outlet, you use a solar panel to harness energy from the sun. That energy powers a small water pump, and voila—you’ve got a self-sustaining, automated watering system that works off the grid.
Why Go Solar?
There are lots of reasons to choose DIY solar-powered drip irrigation, especially if you care about saving water, saving money, and helping the planet. Here are some key benefits:
1. Water Efficiency
Drip irrigation uses up to 90% less water compared to sprinklers or hand-watering. Because water goes straight to the roots, there’s less evaporation and runoff.
2. Eco-Friendly Energy
Solar energy is clean and renewable. By using the sun’s power, you avoid increasing your electric bill and reduce your carbon footprint.
3. Low Maintenance
Once your DIY solar-powered drip irrigation system is set up, it runs on its own. Set the timer, and let the sun do the work. Perfect for vacations or busy weeks.
4. Great for Remote Gardens
Have a garden plot far from a power source? No problem. Solar panels make your system completely self-sufficient, ideal for off-grid setups.
What You’ll Need
Building your own DIY solar-powered drip irrigation system might sound technical, but it’s actually quite manageable. Here’s what you’ll need:
- Solar Panel: This captures sunlight and converts it into electricity. Look for small panels rated around 10-20 watts for most home gardens.
- Water Pump: A DC (direct current) pump runs on solar power. Make sure it’s strong enough to move water from your source to your plants.
- Battery (Optional but Useful): Stores extra solar energy so the system can run on cloudy days or at night.
- Timer or Controller: Automates when the pump turns on and off.
- Drip Irrigation Kit: Includes tubing, emitters (small outlets for the water), connectors, and stakes to secure everything in place.
- Water Source: A rain barrel, water tank, or even a nearby tap can work.
- Filter: Helps keep debris out of your system to prevent clogs.
Step-by-Step Setup Guide
Step 1: Plan Your Layout
Sketch a quick plan of your garden. Decide which plants need watering, how many emitters you’ll need, and how long your tubing should be. Group plants with similar water needs together.
Step 2: Set Up the Solar Panel
Choose a sunny spot for your solar panel. Mount it securely on a wall, fence, or pole. Make sure it gets full sun for most of the day.
Step 3: Connect the Pump
Hook the pump up to your water source. Position it so it can easily pull water and push it into your drip tubing. Connect the pump to the solar panel using appropriate wiring.
Step 4: Lay Out the Drip Tubing
Run the tubing through your garden according to your plan. Use stakes to keep it in place and attach emitters near the base of each plant.
Step 5: Install the Timer
Connect your timer or controller between the solar panel and the pump. Set your watering schedule based on your plants’ needs—most gardens do well with watering early in the morning or in the evening.
Step 6: Test It Out
Turn everything on and check for leaks, clogs, or uneven water flow. Make adjustments as needed. Once it’s running smoothly, you’re good to go!

Troubleshooting Tips
Even the best DIY solar-powered drip irrigation system might need a little TLC now and then. Here’s how to keep things flowing:
- Clogged Emitters: Check regularly and clean them with a small brush or soak in vinegar.
- Low Water Pressure: Make sure your pump is strong enough and that there are no kinks or blockages in the tubing.
- Solar Panel Not Charging: Wipe off dust and debris, and check that it’s angled properly to catch sunlight.
- Timer Malfunctioning: Double-check settings or replace batteries if your timer is battery-operated.
Customization Ideas
Want to level up your DIY solar-powered drip irrigation system? Try these fun upgrades:
- Moisture Sensors: These detect soil moisture levels and water only when necessary.
- App-Controlled Timers: Control your system from your phone, even when you’re away.
- Expandable Tubing Kits: Add more tubing and emitters as your garden grows.
- Rainwater Collection: Connect your system to a rain barrel for an ultra-sustainable setup.
Seasonal Maintenance
To keep your DIY solar-powered drip irrigation system in tip-top shape, give it some seasonal love:
- Spring: Check for winter damage, clean all components, and test the system.
- Summer: Inspect emitters for clogs and monitor water levels.
- Fall: Clean and store any parts you won’t use over winter, or switch to a cold-weather watering plan.
- Winter: In freezing climates, drain water lines to prevent damage.
Cost Breakdown
One of the best parts about DIY solar-powered drip irrigation is that it’s affordable. Here’s a rough idea of what you might spend:
- Solar Panel: $20-$50
- Pump: $20-$40
- Drip Kit: $15-$30
- Timer/Controller: $10-$30
- Optional Battery: $20-$50
Total setup: Around $75-$150 depending on garden size and parts quality. Not bad for a long-term, low-maintenance solution!
Building your own DIY solar-powered drip irrigation system is one of the smartest gardening hacks around. It saves water, runs on clean energy, and makes plant care practically effortless. Whether you’re looking to cut down on your utility bills, conserve resources, or just simplify your life, this setup has you covered. Plus, it’s a fun weekend project with long-term benefits for you and your garden. Once it’s up and running, you can sit back, relax, and enjoy a lush, green space—powered by the sun and your own DIY skills.
Do you want to learn more tips & tricks on all things gardening? Just visit our Gardening category and read on!


