Weeds are the bane of every gardener’s existence. They seem to pop up overnight, grow faster than your favorite plants, and steal essential nutrients from the soil. But what if I told you there’s a simple, affordable, and natural solution sitting in your kitchen right now? Yep, it’s vinegar in your garden!
Read on to learn how you can use this common household item to wipe out those pesky weeds in no time. It’s chemical-free and safe for your garden when used properly. And best of all, it only takes 30 minutes of your time to completely transform your garden.
Step 1: Choose the Right Vinegar

Before you run outside and start dousing your garden with vinegar, you need to make sure you’re using the right kind. For weed-killing purposes, regular household white vinegar (5% acetic acid) can work for small, young weeds. However, for tougher, well-established weeds, you may want to opt for horticultural vinegar (20% acetic acid). You can find this stronger variety at most garden centers or online.
Why vinegar works: Vinegar is highly acidic, and this acid essentially dries out and kills the weed on contact.
Step 2: Apply Vinegar in Your Garden

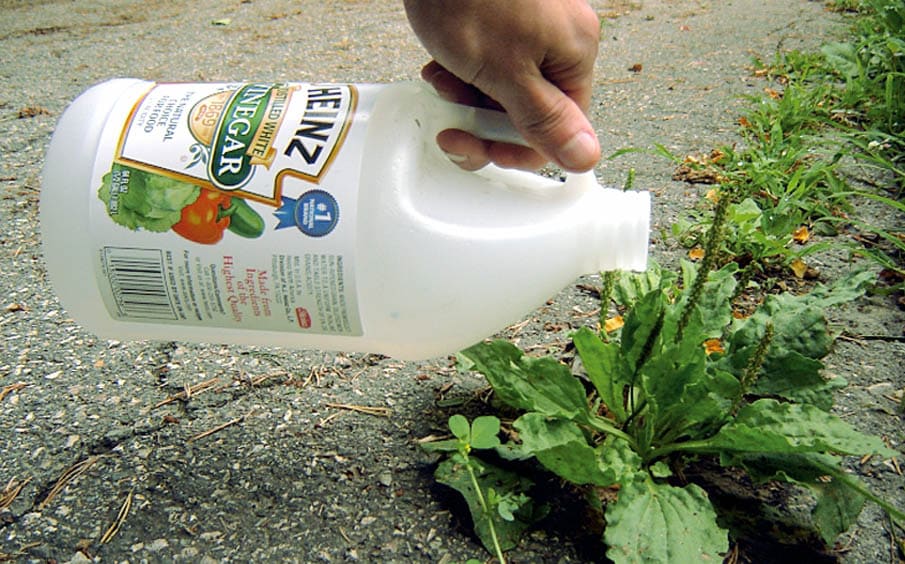
On a warm, sunny day (this part is essential for best results!), apply vinegar directly to the weeds. For smaller areas, a spray bottle is ideal, allowing you to target specific weeds without affecting other plants. For larger areas or tougher weeds, carefully pour the vinegar directly on the base of the weeds, which allows the acidic properties to penetrate effectively into the roots. Targeting the roots is crucial, as it ensures the plant dries out completely and doesn’t sprout again nearby.
Once applied, take a step back and let nature do the work. Within 30 minutes, you’ll begin to notice the weeds wilting and turning brown as the vinegar’s acid works to dry them out. The sun’s heat intensifies this process, speeding up the drying effect and enhancing vinegar’s impact on the weeds.
Important Tip: Avoid applying vinegar on windy days. Wind can cause the vinegar to drift, accidentally damaging nearby plants you wish to keep. Precision and a steady hand will help protect your garden’s intended greenery.
For more details, you can read about the science behind vinegar as a natural weed killer, and find other non-toxic ways to control weeds to keep your garden thriving naturally.
Reapply as Needed, But Be Careful

While vinegar is effective at killing many types of weeds, some stubborn weeds may require a second or even third application. This is especially true for perennial weeds with deep root systems, like dandelions or crabgrass. You may see the top portion of the weed wilt and die after the first application, but if the roots are still intact, the weed will return. So apply extra as needed.
Wait about a week before doing a second treatment. If any green shoots appear, hit them again with a dose of vinegar. The goal is to weaken the weed over time until it no longer has the energy to regrow.
However, vinegar is not selective, so be careful not to spray your prized plants, so precise application is necessary when treating all your weeds’ roots. The ground around these weed roots will absorb a little bit of vinegar as well. And this sucked up liquid will affect approximately 10 centimeters around the plant. So don’t pour too close to your desired garden plants—at least not if you want to keep them.
Bonus Tip: Use Vinegar to Clean Garden Tools
Now that your garden is free of weeds, let’s talk about another incredibly useful way to use vinegar in your gardening routine. After a long day of digging, planting, and pruning, your garden tools can accumulate layers of dirt, sap, and even rust, making them less effective over time. Regularly cleaning your tools is essential for maintaining their functionality, and vinegar is a natural, affordable option that helps keep them in top condition.
Here’s How to Clean Your Garden Tools with Vinegar:
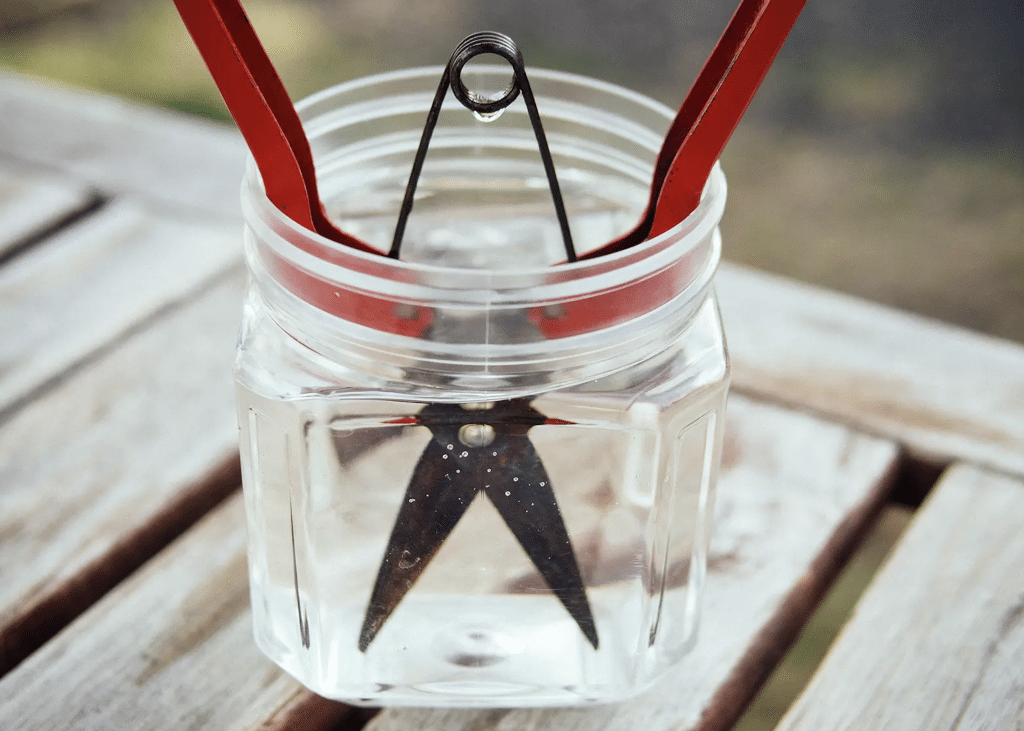
- Soak Your Tools: Start by filling a bucket or container with white vinegar. Place your garden tools inside, ensuring that any rusted or grimy areas are fully submerged. Allow the tools to soak for about 30 minutes to loosen any built-up dirt, sap, or rust. For heavily rusted tools, you may want to leave them in the vinegar a bit longer or repeat the process as needed.
- Scrub and Rinse: After soaking, use a brush or scouring pad to scrub away any remaining rust or residue. The vinegar will have softened these substances, making it easier to scrub them off completely. Once clean, rinse the tools with water and dry them thoroughly. Proper drying is crucial to prevent new rust from forming.
- Polish and Protect: To further protect your tools, consider applying a light coat of mineral oil or vegetable oil to the metal parts after cleaning. This added layer acts as a barrier against moisture, keeping rust at bay and extending the life of your tools.

Using vinegar to clean your tools not only saves you from buying specialized cleaning products but also contributes to a more eco-friendly gardening routine. Plus, by maintaining your tools with this simple method, you’ll reduce the need to replace them frequently, saving money in the long run.
More Vinegar Tips for Your Garden:
- Remove Mineral Deposits from Clay Pots: Soak clay pots in a mixture of vinegar and water to dissolve stubborn mineral deposits and restore their natural color. For an easy step-by-step guide, check out The Spruce’s guide on cleaning clay pots.
- Discourage Pests: Vinegar is also effective as a natural pest deterrent. Spraying diluted vinegar around garden beds can help deter ants, slugs, and other common pests without using harmful chemicals. For more tips on vinegar as a pest control method, see Better Homes & Gardens’ pest control tips.
Incorporating these vinegar-based hacks into your gardening routine can simplify maintenance and improve the health and longevity of your tools and plants alike. So next time you’re wrapping up a day of gardening, don’t forget to give your trusty tools a little TLC with vinegar!


